How to turn handwriting into an SVG
April 29, 2021
I recently freshened up the look and feel of my site. My number one goal was to give my site a proper logo. I don’t have a lot of experience designing logos myself, but as I was sketching out some ideas on paper, it occurred to me my own handwriting could be my logo. It’s unique to me and perfectly captures the personal touch I want to achieve with my branding.
In this post I will explain the steps I took to transform my handwriting, first written on a piece of paper, into an SVG now used as the logo on this website.
The application of these steps isn’t limited to your name or even handwriting. You could convert a doodle drawn on a piece of paper into an SVG or hand write a heading for a website. The possibilities are as wide as your imagination!
Benefits of using an SVG
Before we dive in, let’s talk real quick about why you might want to make your handwriting into an SVG. (Feel free to skip to the next section if you just want to get into the “how to” steps.)
“SVG” stands for scalable vector graphic and comes with a bunch of advantages over a traditional pixel graphic (ex: .png or .jpg file formats).
Some of these benefits include:
- Scalability: vector images can scale to any dimensions without losing quality. This is great for responsive design!
- File size: SVG file sizes tend to be much smaller than a pixel-based graphic that has to be saved at the largest size for the display. This is a great site speed benefit!
- Code control: You can modify paths and elements of the SVG with code and don’t always need access to graphic editing software to make changes.
- Styling: You can style your SVG with CSS. My site has a dark mode toggle that changes the color of the logo depending on the setting. I’m only using CSS styles to achieve this. With a pixel-image, you would need to maintain two separate image files and swap them out.
- Animation: You can also animate the SVG. This is something that is on my “future enhancements” list. If you’re interested in learning more, check out this CSS-Tricks Guide to SVG animations.
How to turn handwriting into an SVG
This post outlines the specific steps I took to convert my handwriting into an SVG. It does require the use of Adobe Photoshop and Illustrator and assumes some basic knowledge of the software. It’s worth noting there are other ways to do this using different image editing tools, but that will not be covered in this post.
Supplies needed
- Piece of blank white paper
- Very dark pen (I used a black Sharpie)
- Phone camera
- Adobe Photoshop
- Adobe Illustrator
- Code editor
Step 1: Write your name on piece of paper
Practice writing it a few times and when you’re ready, write your name fairly large on a piece of plain white paper (no lines). Try to leave at least 1 inch of margin on all sides. This will be helpful when extracting the background later.
Step 2: Take a picture of the paper
Lay your piece of paper on a flat surface away from overhead light, which will cause unwanted shadows in your photograph. If possible, place the paper in a windowsill with some natural sunlight coming through.
Hold your camera steady above the paper and take the photo. If you see any shadows, adjust and take the photo again until you have a shadowless photo.

Step 3: Transfer the photo to your computer
One of the easiest ways to transfer the photo is to email it to yourself. Keep the quality as high as possible.
Step 4: Edit photo in Adobe Photoshop
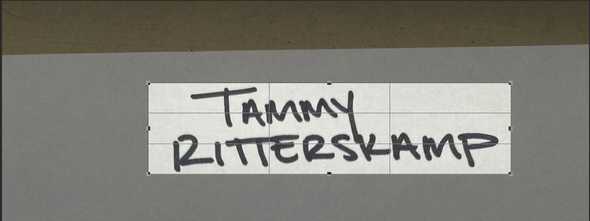
Open the photo in Adobe Photoshop. Crop photo as tight as possible around the text.
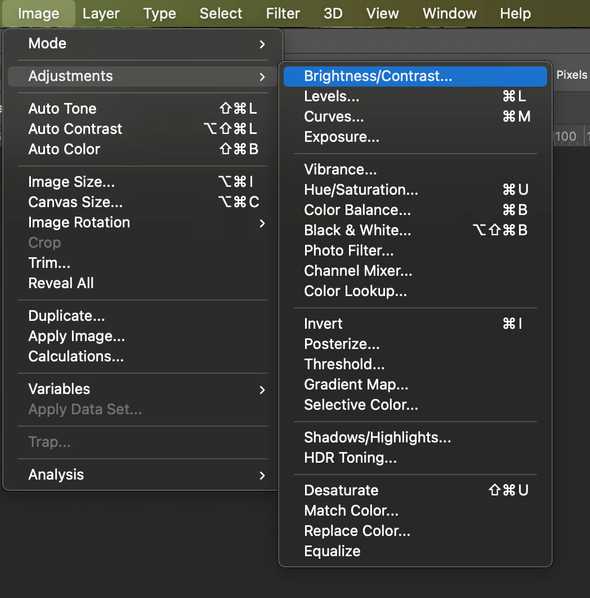
Open up the Brightness/Contrast panel (In Photoshop 2020 this is located under Image > Adjustments > Brightness/Contrast).
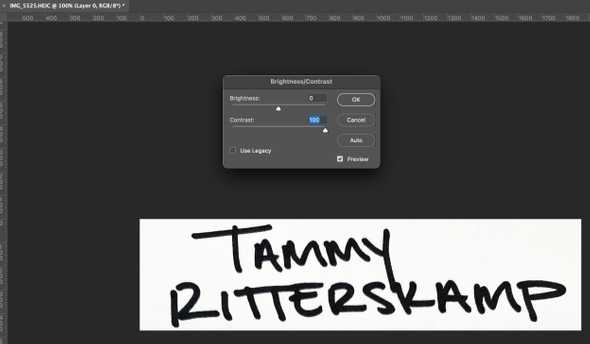
Turn the Contrast setting all the way up to 100. This will make the text as dark as possible and the white background as light as possible.
Next we will remove the white background.
Add a new layer underneath your photo. Give it a red background fill. This will help ensure that all background is removed from the original layer.
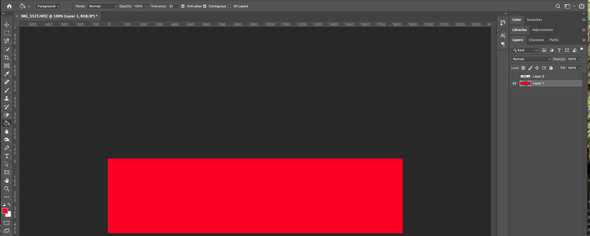
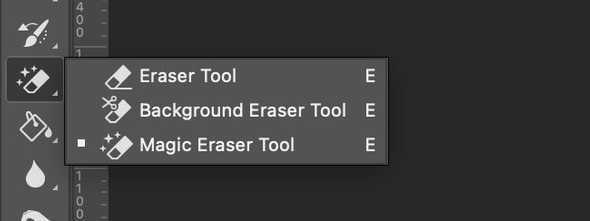
With the photo layer selected, grab the Magic Eraser tool and click in any area on the white background to start removing the background. Don’t forget about the small spaces in letters like A or R.
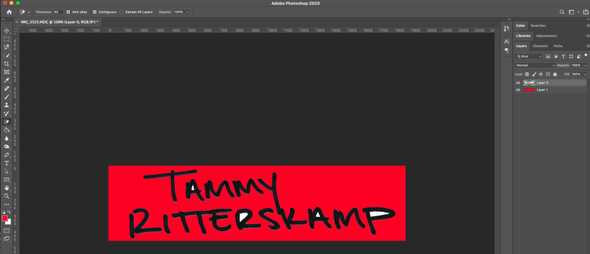
Once all white background has been removed, you can delete the red background layer. Now you should just have your handwriting on a transparent background.
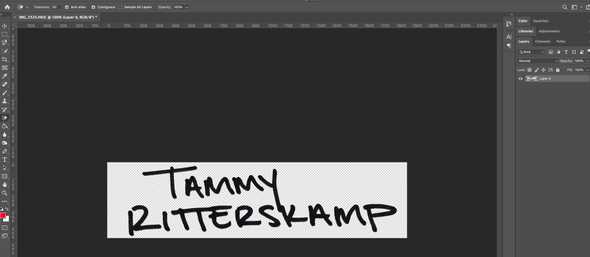
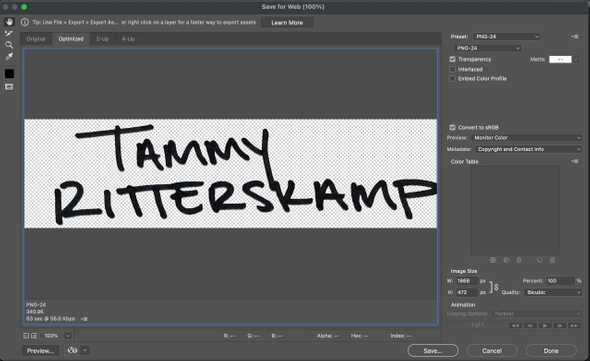
Save the image as a PNG file to preserve the transparency to a location on your computer where you can access it in the next step.
Step 5: Open the png file in Illustrator
Open your png file in Adobe Illustrator and select the layer of the image.

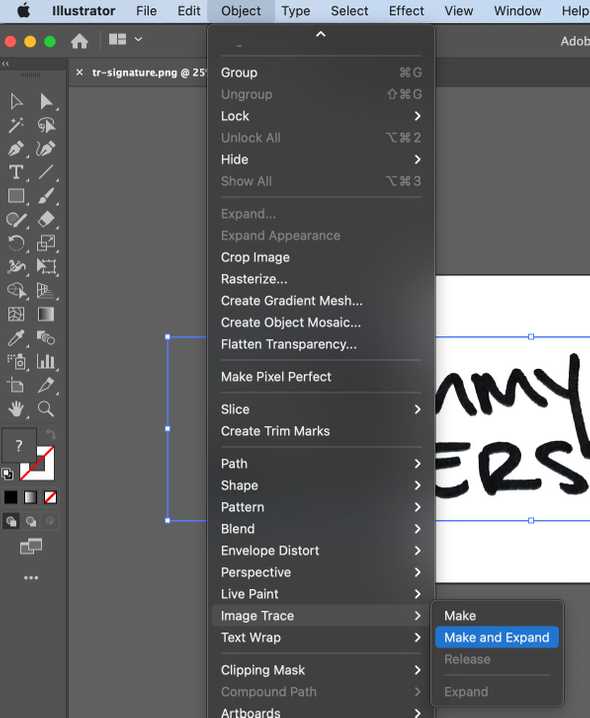
From the Menu, navigate to Object > Image Trace > Make and Expand.
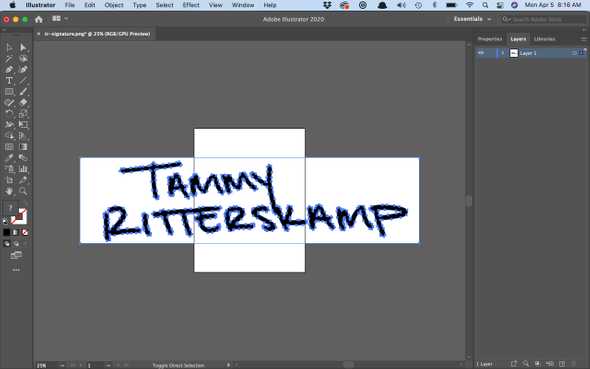
Once traced, your layer should look something like this.
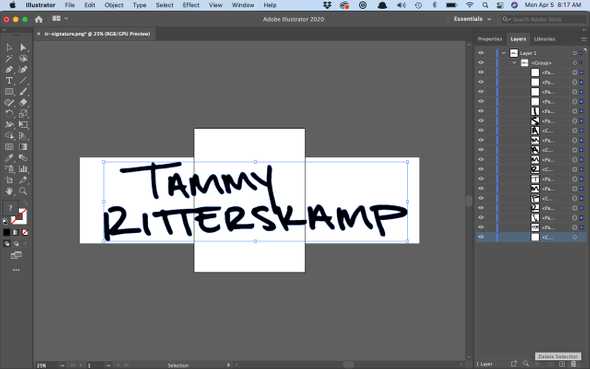
Open up the layers panel and delete any white space paths.
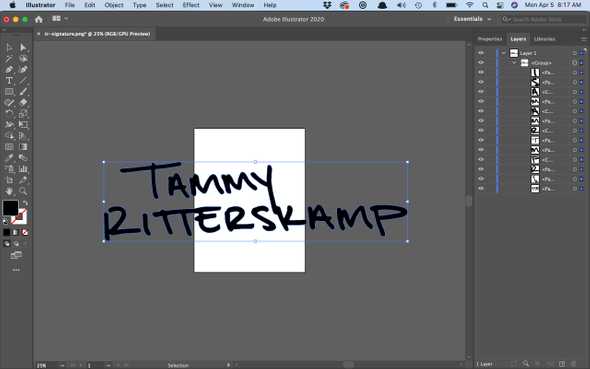
Rename the layer: this will be the selector ID of your SVG, so make it meaningful.
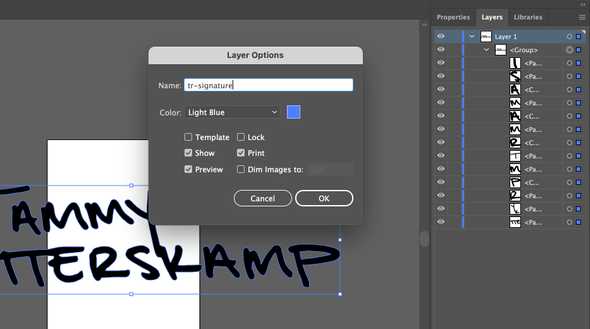
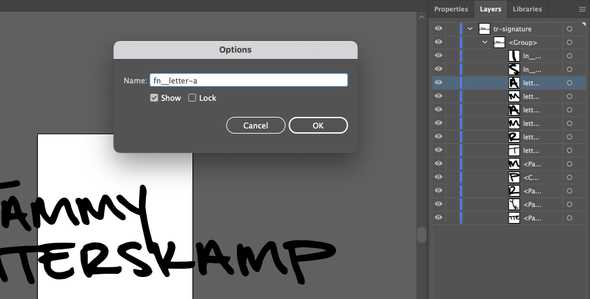
Rename each path layer: these will be the selector ID’s for each path of your SVG, so each one will need to be unique. This will give you more flexibility to style or animate.
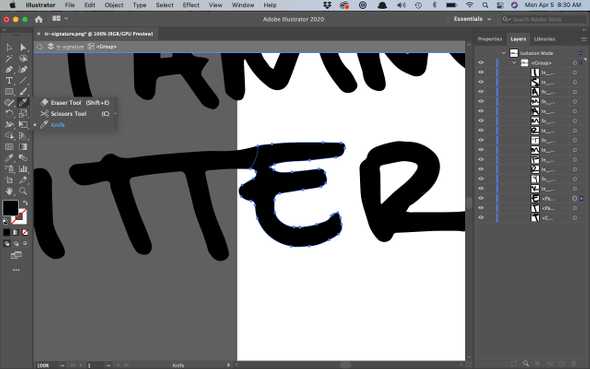
Note: you may need to split apart paths to create the path structure you want. Use the Knife tool to draw a line where you want to split the path apart.
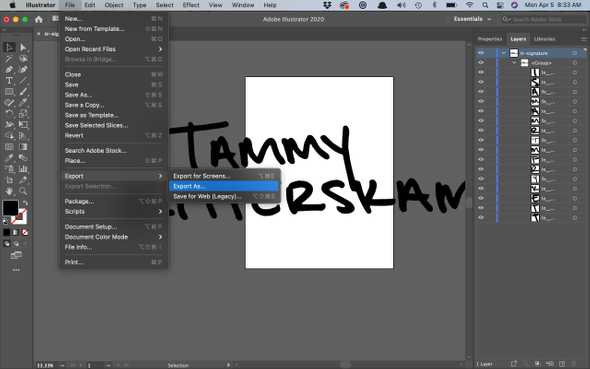
When your paths are split and named as you want them, you can export the document as an SVG. File > Export > Export As > Select SVG
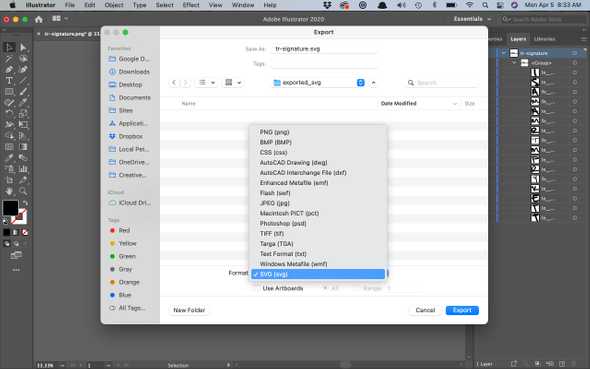
An options panel will open up with options for how you want to export your SVG. I didn’t change these, but you can experiment and configure these as you want.
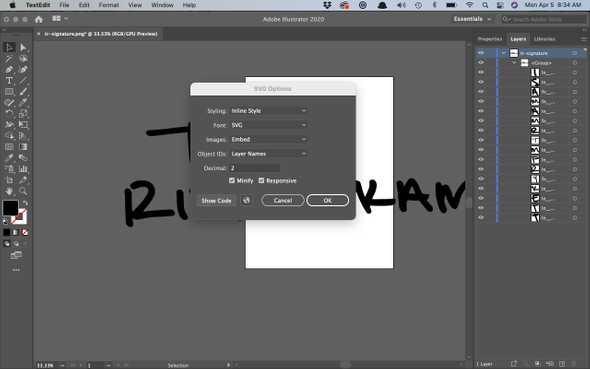
If you want to just grab the code and drop it into a text editor, click the “Show Code” button. A text editor will open with your SVG code. Copy and paste it into your code editor of choice.
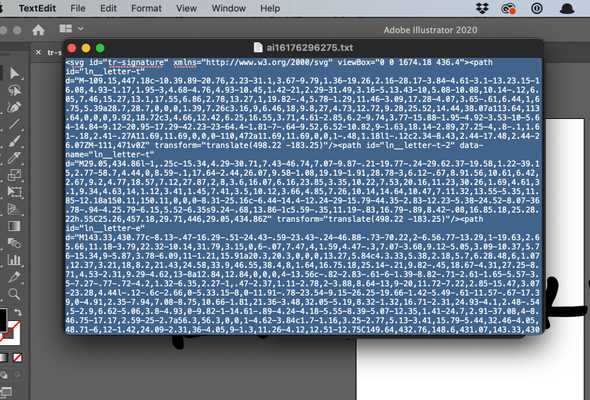
I dropped mine into a Codepen that you can see below. It’s still a good idea to save the .svg file somewhere so that you can go back and edit it whenever you want to.